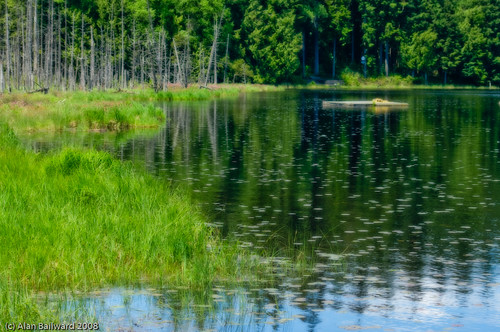
After my post a couple of days ago about discovering the Orton Technique I found a couple of shots I thought were good candidates to play around with it on. I did the first image, liked it so much I immediately recorded the action and then applied it to a couple of other images. It's a bit gimmicky yes, but if you've got a bit of a "meh" shot, maybe something like this can take it up a notch and give the right scene that dreamy quality.
This first image was "Ok", a shot of the edge of Whonnock Lake. It's got a bit of an S-curve, follows the rule of thirds fairly well, and has something off on the right (the floating dock). I'd have liked something a bit more in the foreground, but hey, I'm still learning. The main issue with this image I think is it's fairly flat (though feel free to tell me how it'd have been improved).
Running it through the orton action gave me what's below.
While still not a winner compositionally, note how things pop out, especially the green, and how the right hand side is filled in with reflections from the trees. The sky in the lower part of the image also doesn't seem to get as lost with a bit of contrast between it and the green of the tree reflections in the water.
A second test is below. Before image:
And after:

To do this on your own images, just hit this great tutorial page on pic.net and follow it as written, works great!
Comments or suggestions appreciated as always (assuming I have more than 3 readers of course)!


0 comments:
Post a Comment